Setting up Pondus
Pondus is based on two pressure plates that can be used together with all R82 standing frames using the new and improved adjustable sandals that can be fitted to any of our standing frames.
The two plates are paired with an IOS app, that will allow for real-time feedback from the pressure plates where 3 weight sensors in each plate provide both a weight output as well as the possibility to read the weight-bearing of the user’s left and right side.
Once paired, the Pondus app will guide you through the setup in the standing frame to begin the session.
Workflow for beginning a standing session with Pondus
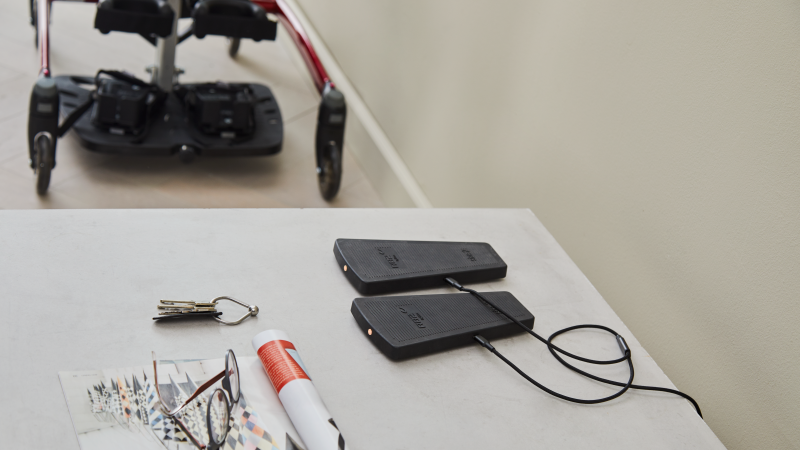
- Turn on the plates by pushing the LED button on the front panel of the plates and hold for three seconds.
- Place the plates in the sandals provided on the standing frames.
(Make sure that the plates are engaged in the designated indentations of the sandals.) - Find and open the “R82 Pondus” app on your iPhone.
- The app should automatically find your two devices. If not, drag down from the top in the list view, as shown in the animation.
- Select the two devices matching the colors of your Pondus plates .
- Select your R82 standing frame.
- Now the Pondus plates should change color to green and blue, indicating left and right. The plates are now connected to the App and Pondus is ready to use.
- Position the child in the standing device on top of the plates.
- Confirm or rearrange the right and left Pondus plate, otherwise you can use the “Swap” button. (Left and right of the user).
- Select “Next”, to continue.
- Optional data can be inserted: User reference and user weight.
- Select “Finish”.
- The standing session and force reading can now begin.
- Finish standing session measurement.
- Export data as PDF or .csv.
The batteries will operate for a minimum of 8 hours of use when they are fully charged.
The batteries have a one-year warranty from the time of purchase.
Duration of Charging:
The duration of charging depends, among other things, upon whether the battery was completely uncharged at the start of the charging process or not. The charging takes no longer than 3 hours.
- Pondus must not be charged during use.
- They should be stored at –20°C to + 40°C temp – when not in use and during use at 10°C to 35°C.
Take the Pondus plates out of the sandals and switch off the plates by pushing the LED button on the front panel of each plate for at least 3 seconds.
LED status on Pondus.
Observe the LED button on the front side of the plates. This provides information on the status of Pondus.
|
LED-Display |
Meaning |
|
Flashing YELLOW |
Waiting for a connection |
|
Solid COLOR |
A smartphone/tablet was connected and set a color for identification |
|
Solid GREEN and BLUE |
Pondus plate is connected to a smartphone/tablet |
|
Flashing GREEN and BLUE |
Pondus plate is sending data to a connected smartphone/tablet |
|
Solid ORANGE |
Pondus plate is charging or fully charged |
|
Flashing ORANGE in-between other color |
Battery below 10% |
|
No light |
Pondus plate is turned OFF. Click the button to switch it ON |
Pondus can be disinfected with a 70% disinfectant IPA solution. It is recommended to wipe off any residue and dirt from the product, using a cloth with warm water and a mild detergent/soap without chlorine and let it dry before disinfection.
Pondus samples data using 3 individual sensors inside each plate and subsequently gathers this data into one value. The sensors sample data 10 times per second, allowing for real time readings.
The data can be analyzed and used as guidance while setting up the standing frame as the standing session is about to begin, during the session to monitor if activities impact the force alignment and even after the session as the data report can be exported as both PDF and .csv file.
The 10 last sessions will be stored locally on the mobile device and can be retrieved and exported.
The PDF enables you to read the optional input ahead of the standing session as well as a graphic display of the exported standing session. The .csv file will give you access to all the raw data input, with 10 samples per second allowing in-depth analysis and interpretation of the data possible to use in external statistic software.
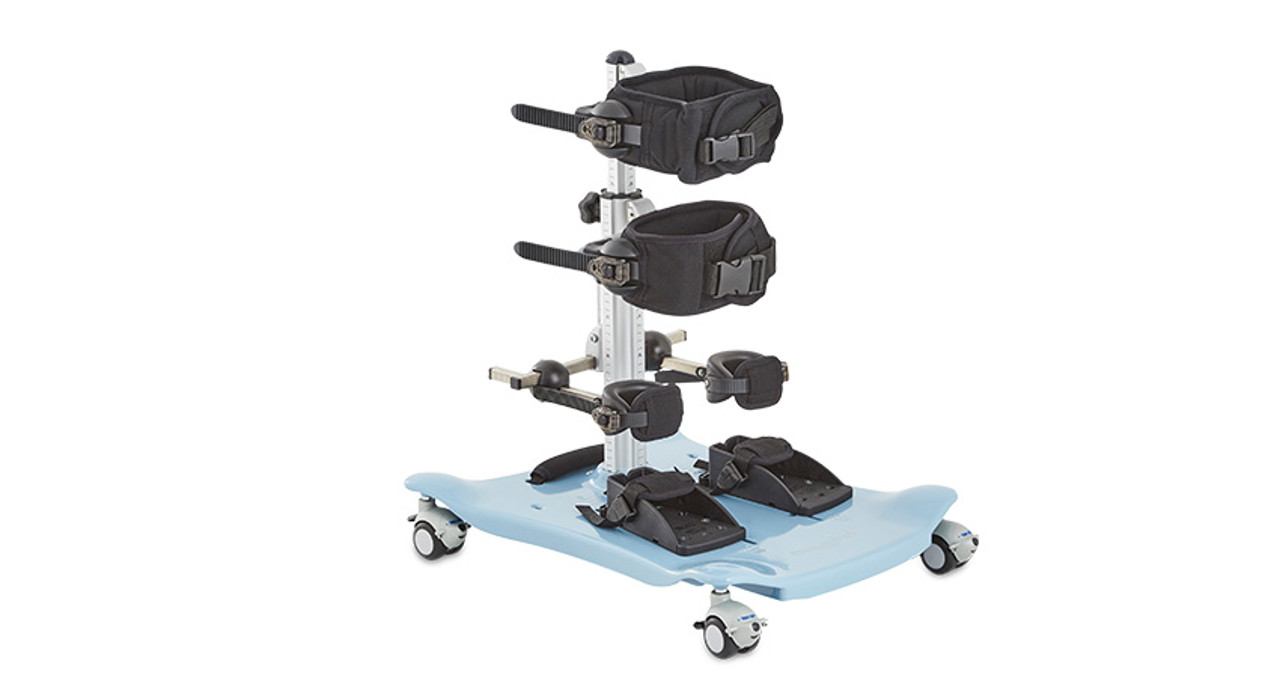
R82 Meerkat
The Meerkat is a simple upright standing frame with adjustable support for feet, knees, pelvis and chest.
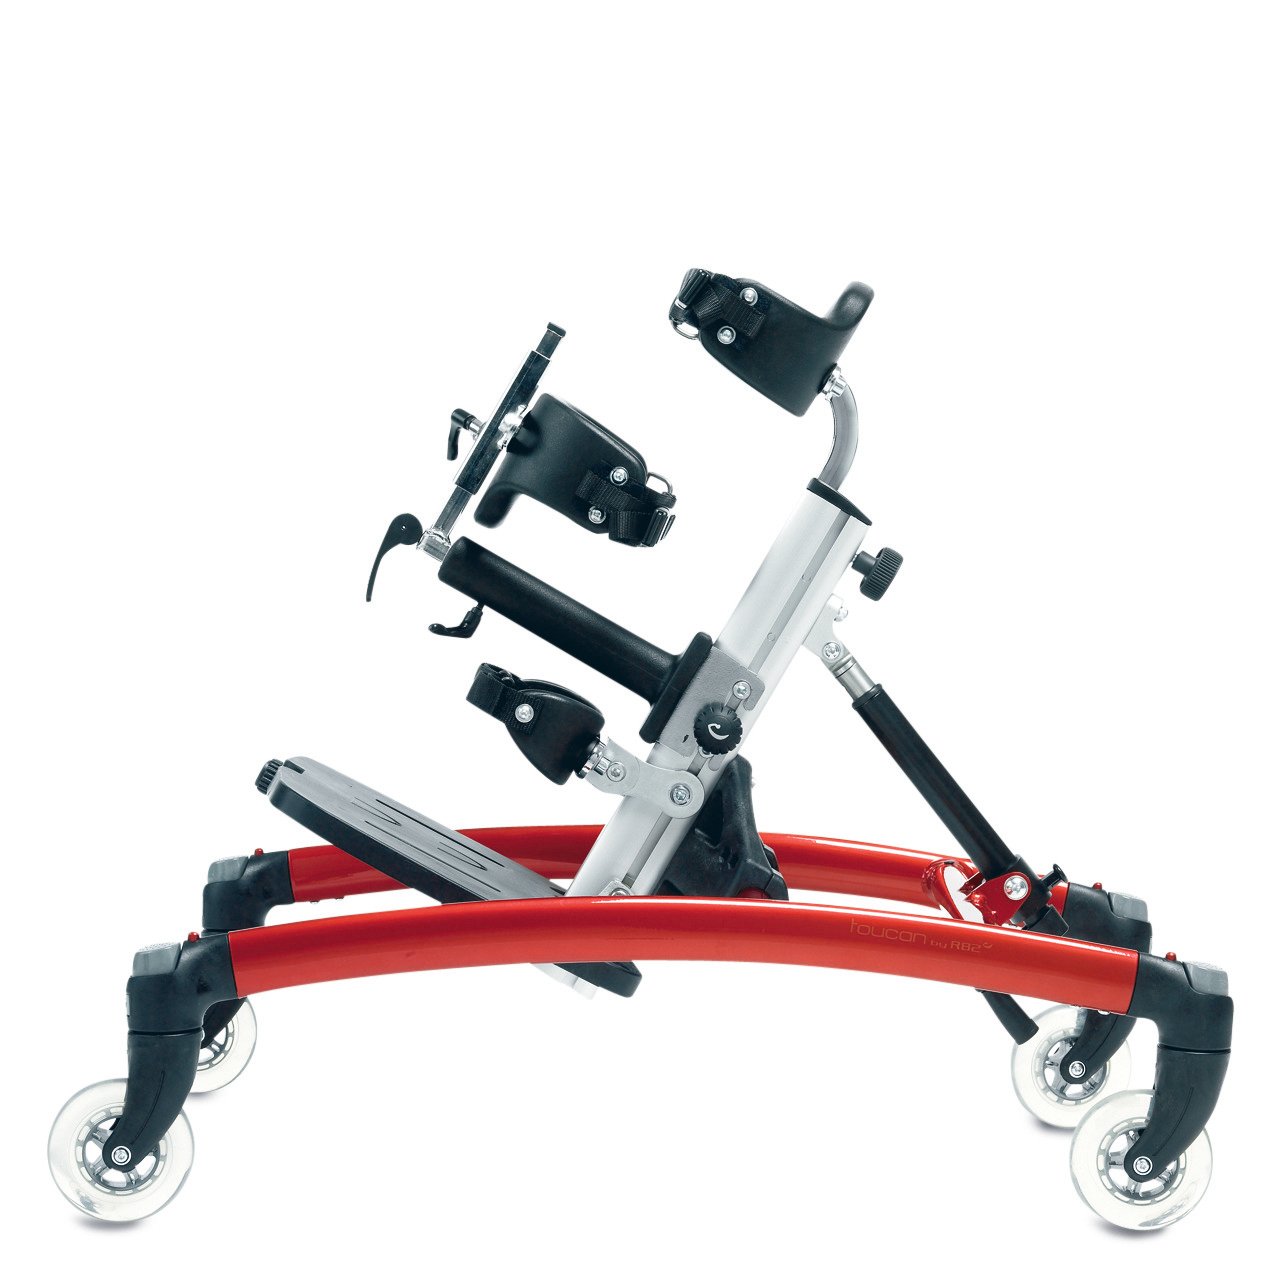
R82 Toucan
The Toucan standing frame comes with soft curves and smart colours. It is designed to support the user in the upright and prone position.
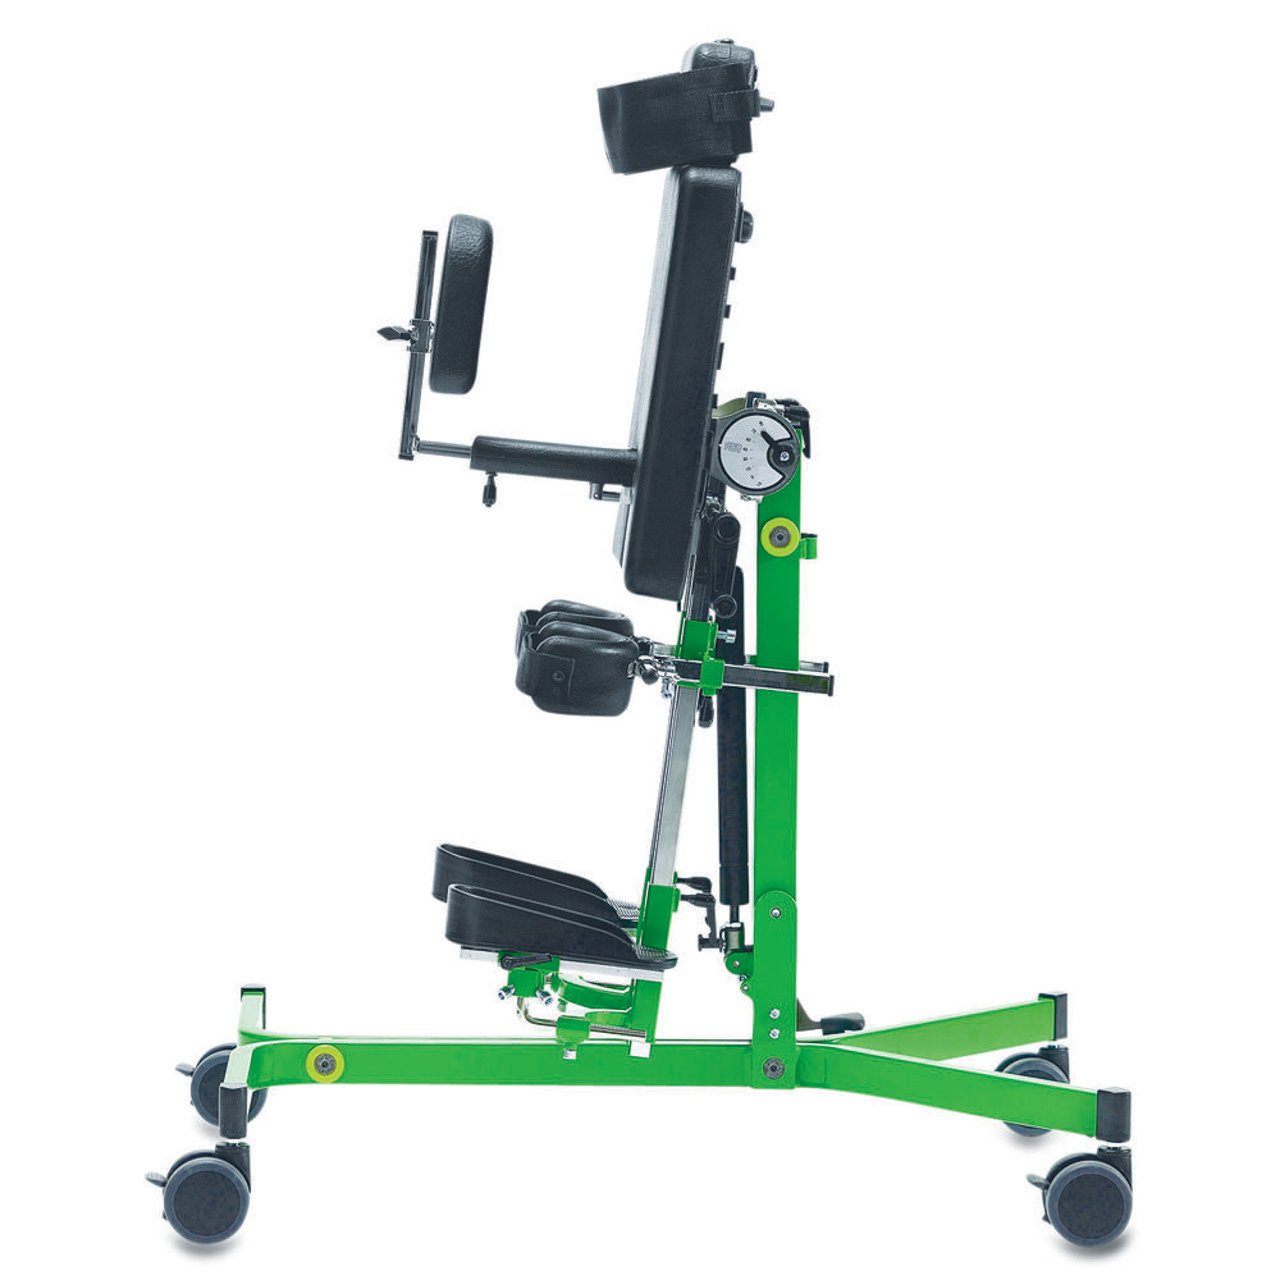
R82 Caribou
The Caribou is a standing frame that supports a prone or supine standing position.
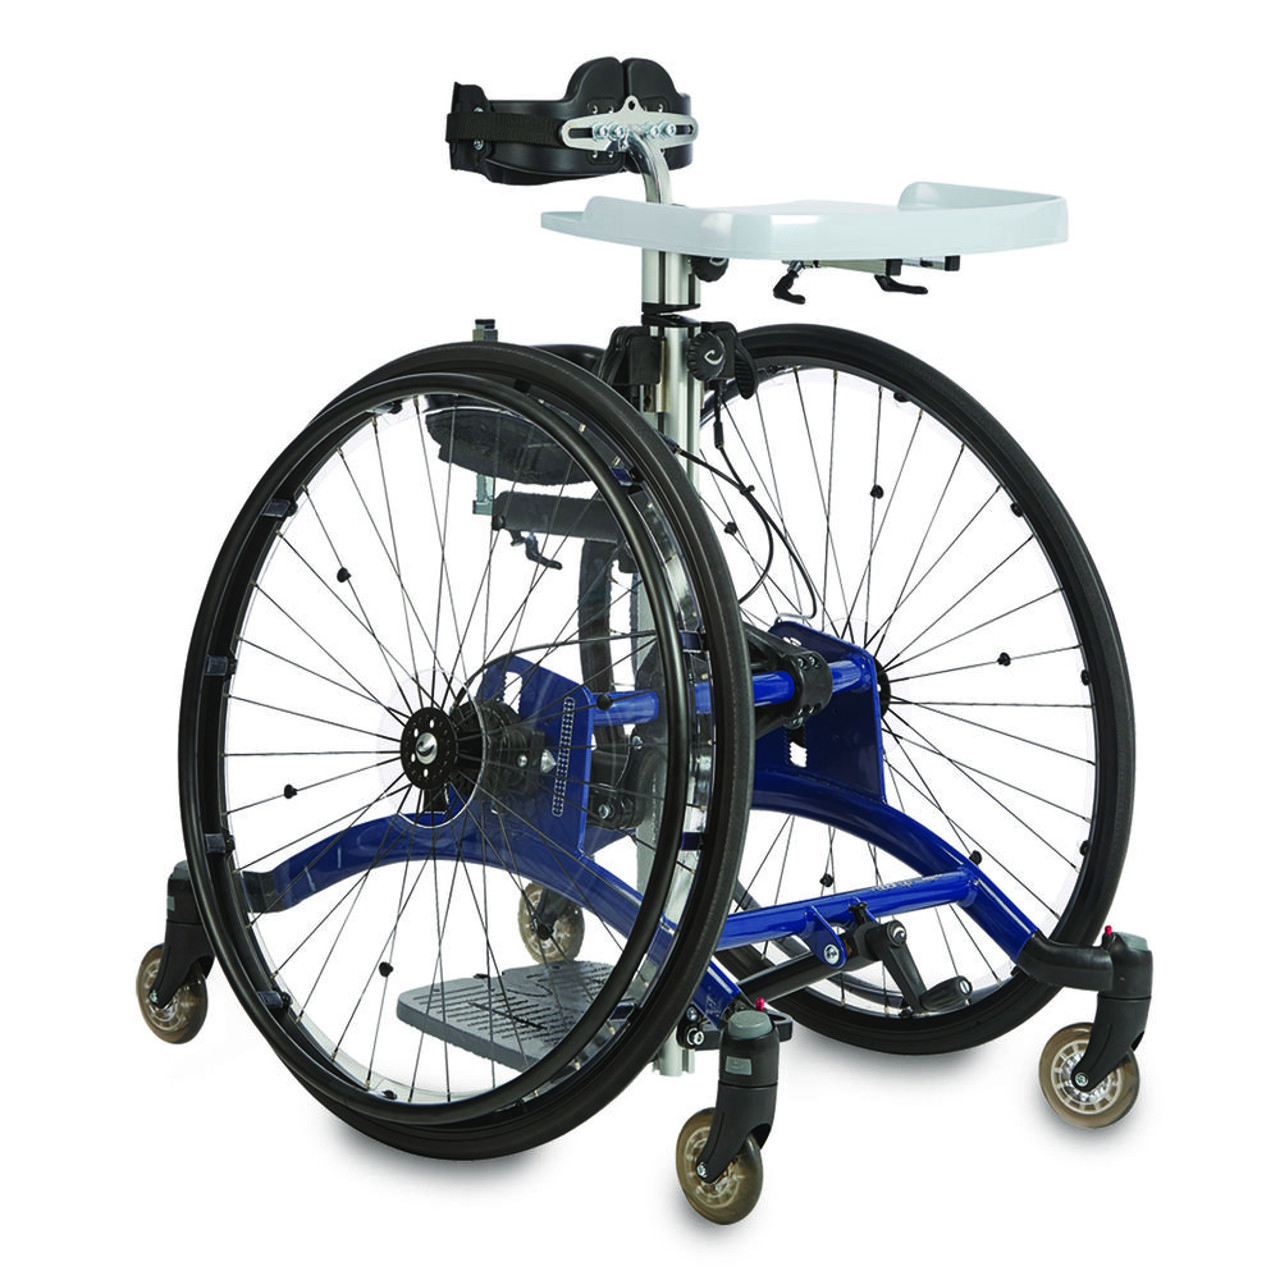
R82 Rabbit Up
The Rabbit Up is a truly adaptable stander. It is secure, reliable and adjustable, while also offering the independence to explore using the optional driving, quick release wheels.
R82 Gazelle PS
Gazelle PS stands for Prone and Supine which means it can be used by children who need to be supported on their fronts or backs