Posterior pelvic tilt
- Shape up in Cross 5 and Cross 6
The challenge with a posterior pelvic tilt is to provide a back support that optimises both with pelvis position and the thoracic back. Start by adjusting the seat to back angle posteriorly to allow the user contact with the back support from the buttocks.
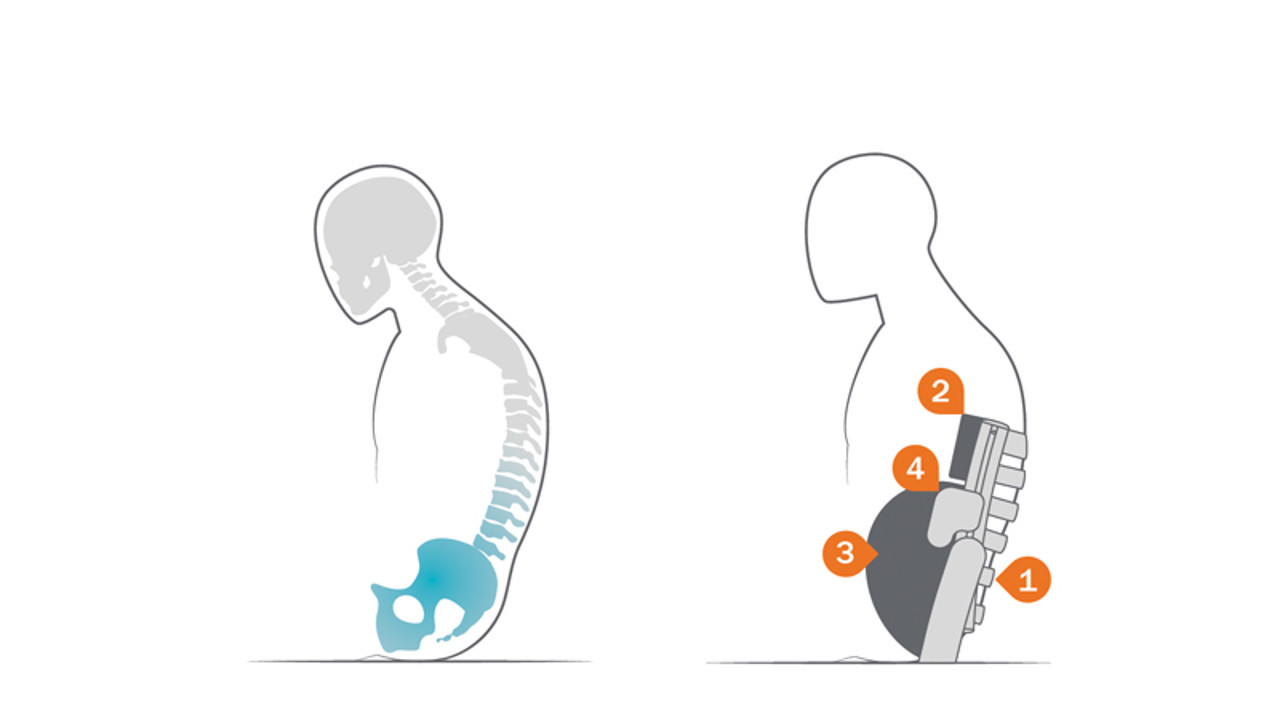
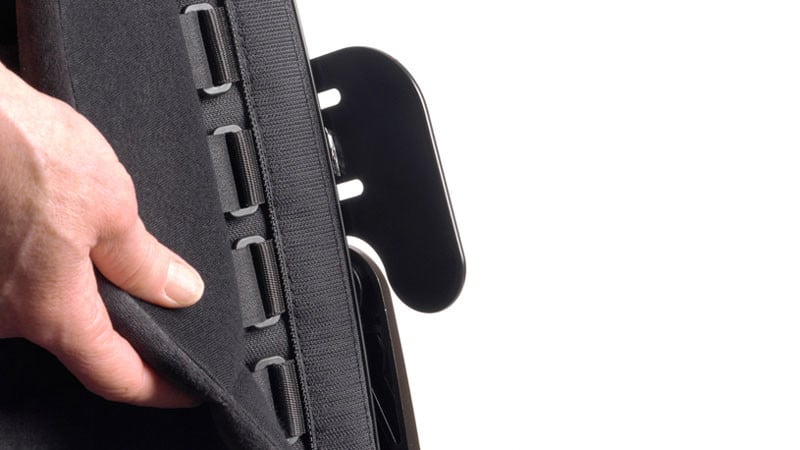
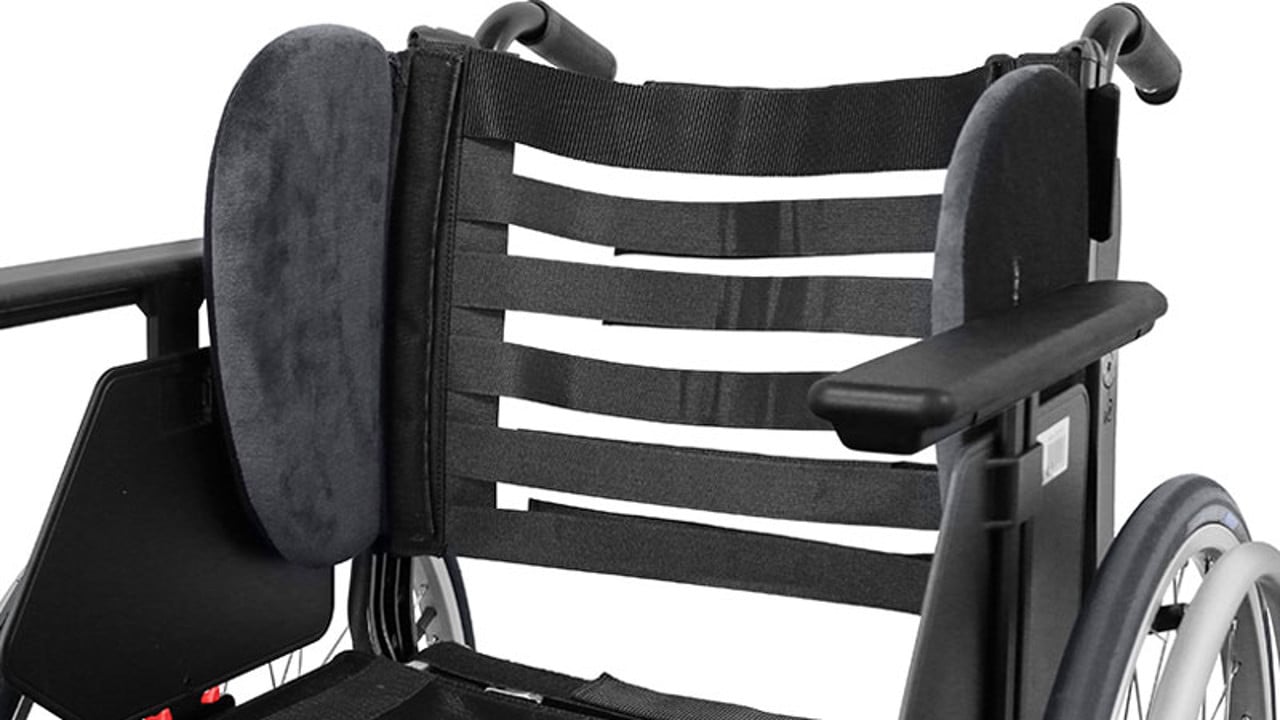
Adjust the lumbar angle to create a balanced trunk and head position. Be sure to provide posterior support with the tension adjustable back strap at PSIS level (1). If extra side stability is needed, add Plush Wedges (2) or Side Cushions (3), supported by straight Side Stops (4) if needed.
A properly adjusted Positioning Belt (5), a four point belt is often required, and a contoured seat cushion are also recommended.

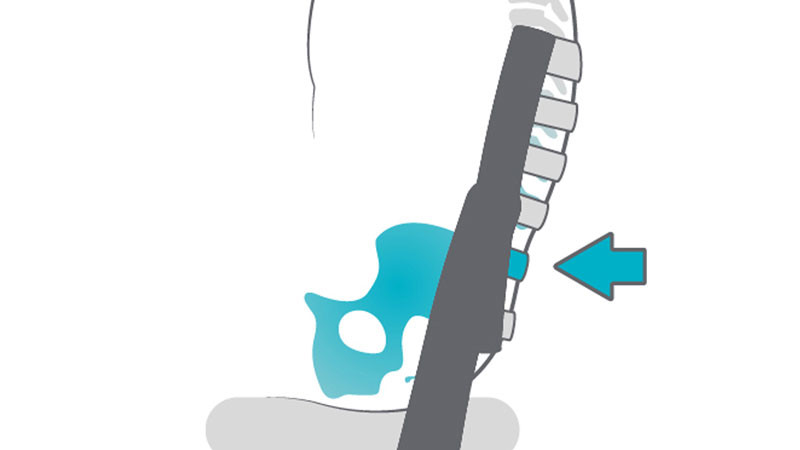
1. Supporting the pelvis
Aim to position the user as far back into the seat as possible to benefit from the support from the tension of the adjustable strap back. The strap in level with the PSIS, needs to be tight to secure the pelvis in a position as close to neutral as possible. Adjust the lumbar angle and the back straps to create a balanced trunk position, then carefully fine tune the seat to back angle into a slightly more upright posture. If the user compensates by sliding forwards in the seat or leans forward in their trunk, then the adjustment is too great and the seat to back angle should be adjusted to allow a more reclined posture.
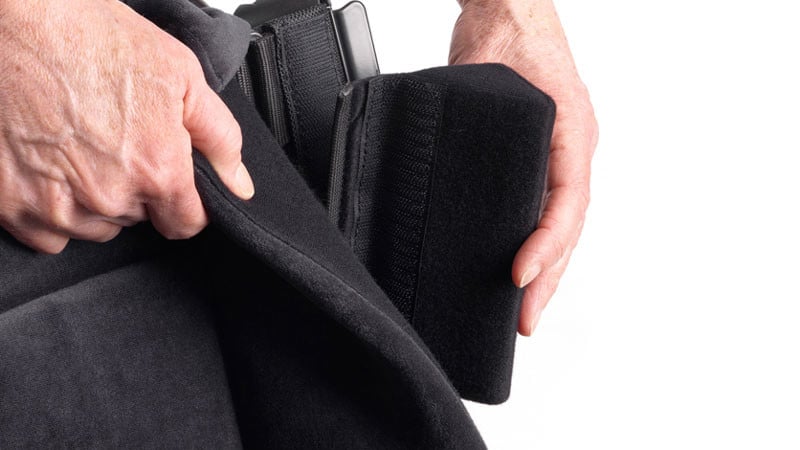
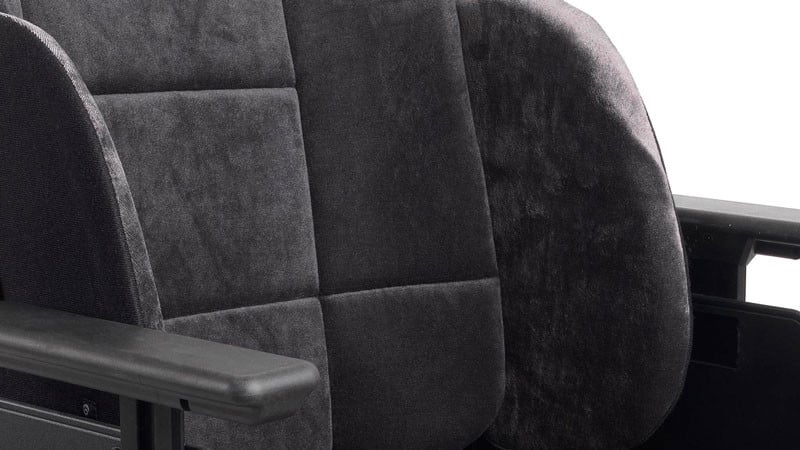

Example of accessory placement
Example of accessories placed on the back support. Here with the side cushion supported by the straight side stops to provide lateral support.
See all body shapes and learn how to shape them up.